In preparation for the switch to Zoom, you will have until July 31, 2018 to download any saved recordings from Adobe Connect. Please follow the instructions below for exporting recordings.
Exporting a Video from Adobe Connect:
1. Login to Adobe Connect at https://vscmymeeting.adobeconnect.com
2. Select on the ‘Meetings’ tab at the top, just below the VSC logo.
3. Click on the name of the meeting that has the recording you are trying to export.
4. Select on ‘Recordings’ in the list of links above the bar that says ‘Meeting Information’.
5. Find the meeting instance you want to export and select the Actions to the right of the title. Then select ‘Make Offline’.

6. A recording of your meeting will open with some helpful hints for how to make it come out well. Make sure you read those as whatever else you’re doing on your computer at the time can impact the quality of your video. Once you’re ready, select ‘Next’.

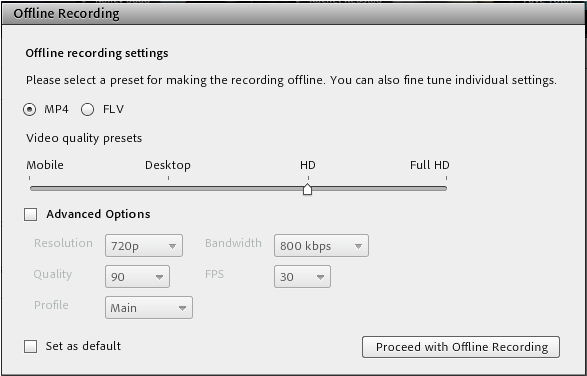
7. A screen will appear with some options. The defaults, ‘MP4’ and ‘HD’ will be fine for most people. Once you have this set the way you want, select on ‘Proceed with Offline Recording’.
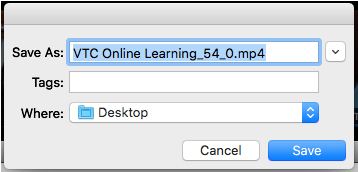
8. Another popup will ask you where you want to save your file to. Choose your location and select ‘Save’.
9. Let your video play. It will export as it goes and you can watch the progress bar at the bottom to see how much is done and how long is left.
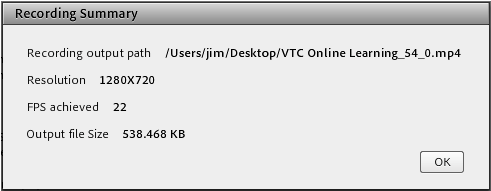
10. When you’re done you’ll get a summary screen. Select ‘Ok’, find and open your exported video file and spot check it to make sure everything is as expected.